Easy Windows Disk Partitioning with GParted Live
The Article Show Step-by-Step How-to Partition a Windows 7/8/10 OS Drive with Free Gnome Partition Editor Live.
GParted is a Free Partition Editor for Graphically Managing your disk partitions.
With GParted you can resize, copy, and move partitions without data loss, enabling you to:
- Grow or shrink your C: drive
- Create space for new operating systems
- Attempt data rescue from lost partitions
To Resize the Windows Drive You have to Boot the PC/Mac with GParted Live CD/DVD/USB.
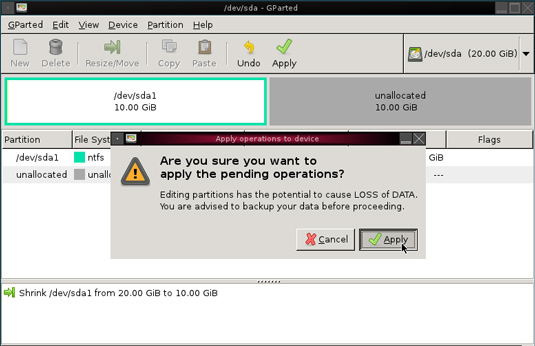
CAUTION: Editing partitions has the potential to cause LOSS of DATA. You are advised to BACKUP your DATA before using gparted.
-
Download & Burn to CD/DVD/USB GParted Live :
-
How-to Start-Up a Windows PC with GParted Live :
-
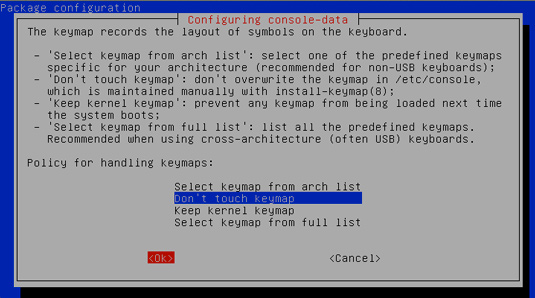
Accept the Default KeyMaps
-
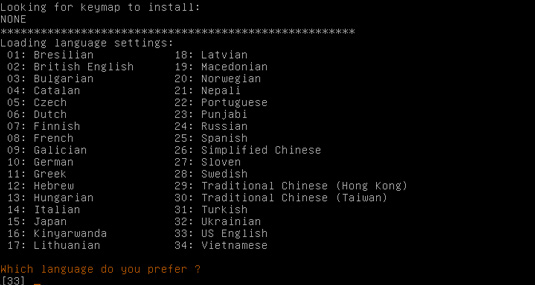
Select Your KeyMap/KeyBoard-Layout
-
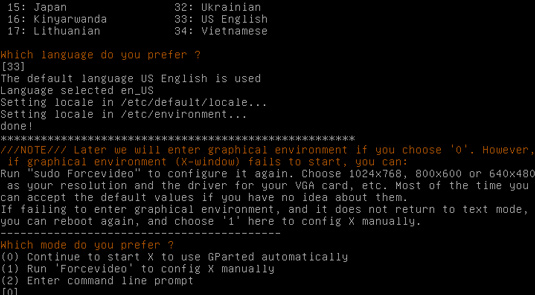
Starting GParted Live GUI
-
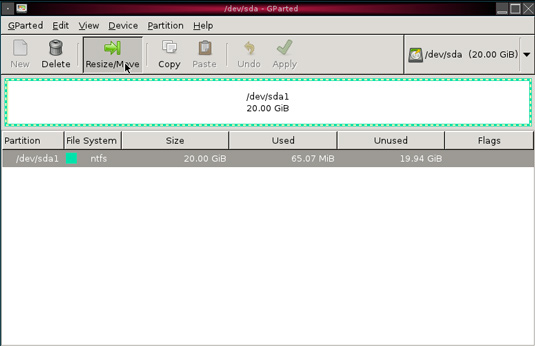
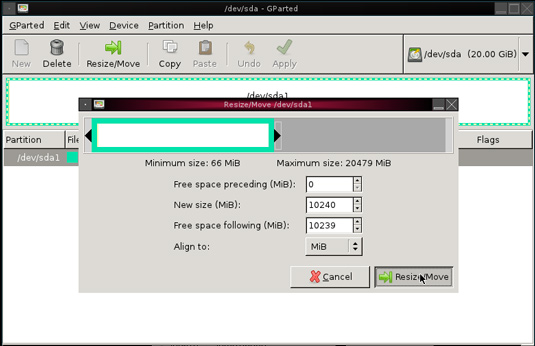
Select Partition and Click on Resize/Move
-
Set New Partitions Size
-
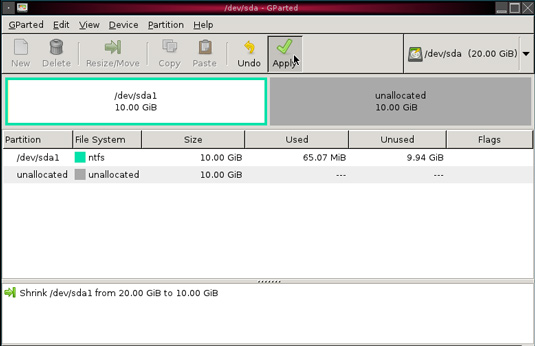
Apply!
Be Aware of a Potential Data Loss Risk…
-
Successfull Ntfs Partitioning
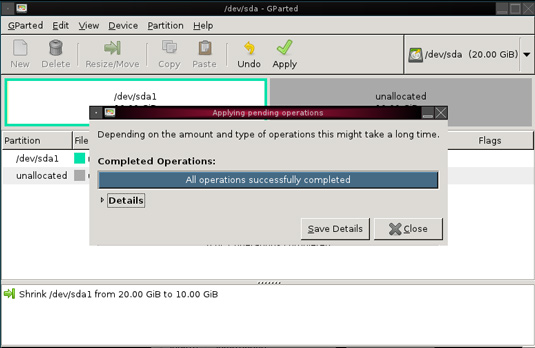
After You can Reboot the Computer…